Your first clip
Obiklip runs on your own AI key. Save one first — see Your OpenAI API key.
Start with a recording of someone talking and finish with an MP4 in your downloads. About ten minutes, most of it waiting.
| You need | A current desktop browser and a local recording with speech in it. |
|---|---|
| It costs | No Obiklip processing charge. OpenAI bills your API account for the transcription and clip analysis. |
1. Open Obiklip
Open the app and save your API key in Settings. No account, plan or payment is required.
2. Open a recording
Drag your video onto the window, or press Open video and pick it. Obiklip reads the file where it is; it does not copy it and does not change it.
A first go is easier on something 10 to 30 minutes long. An hour works exactly the same way, it just takes longer to sit through afterwards.
3. Say what language it is in
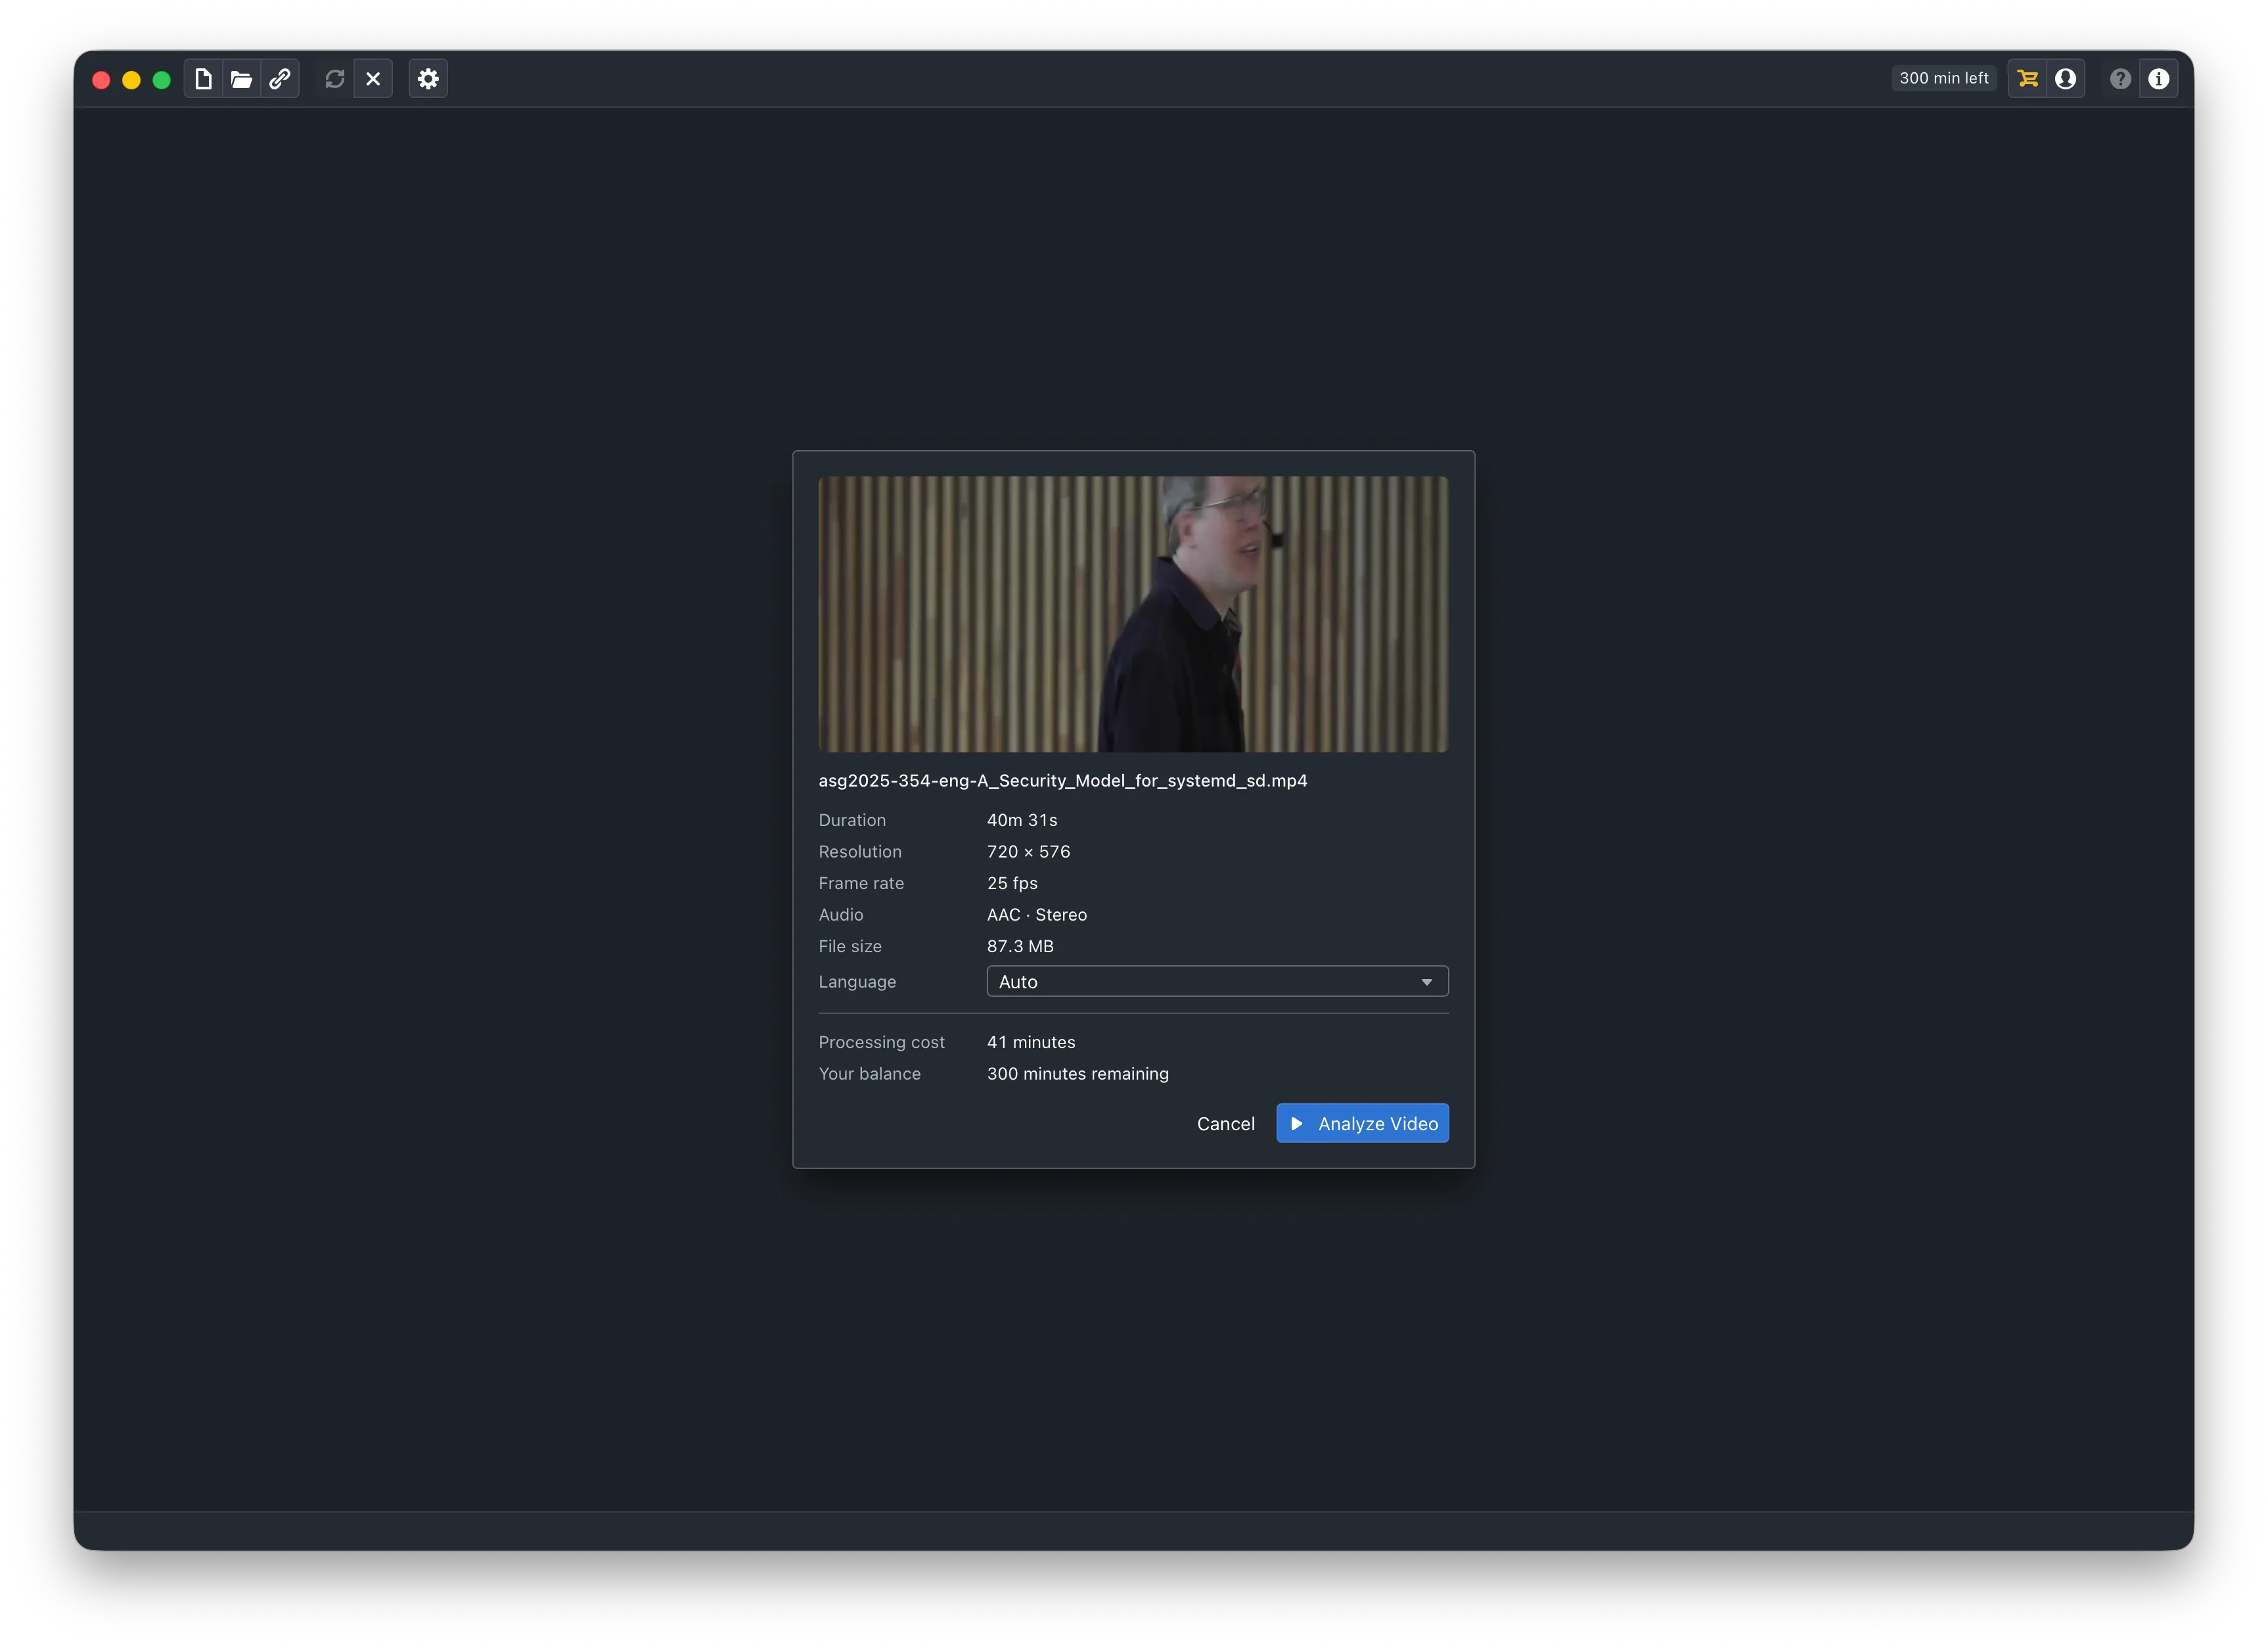
Obiklip shows what it found - the length, the size, the shape - and asks which language is spoken. Choose it. Auto is there, but choosing is more reliable, and a wrong guess may mean running and paying OpenAI a second time.
4. Analyse it
Press Analyze Video. The browser sends the work straight to OpenAI on your key, so OpenAI charges your API account. Obiklip reports what it is doing as it goes; keep the tab open until it ends.
5. Look at what came back
You now have the whole recording as text, and a list of clips with the strongest first. Click one. It plays on the stage between its own start and end, with subtitles drawn as they will be rendered.
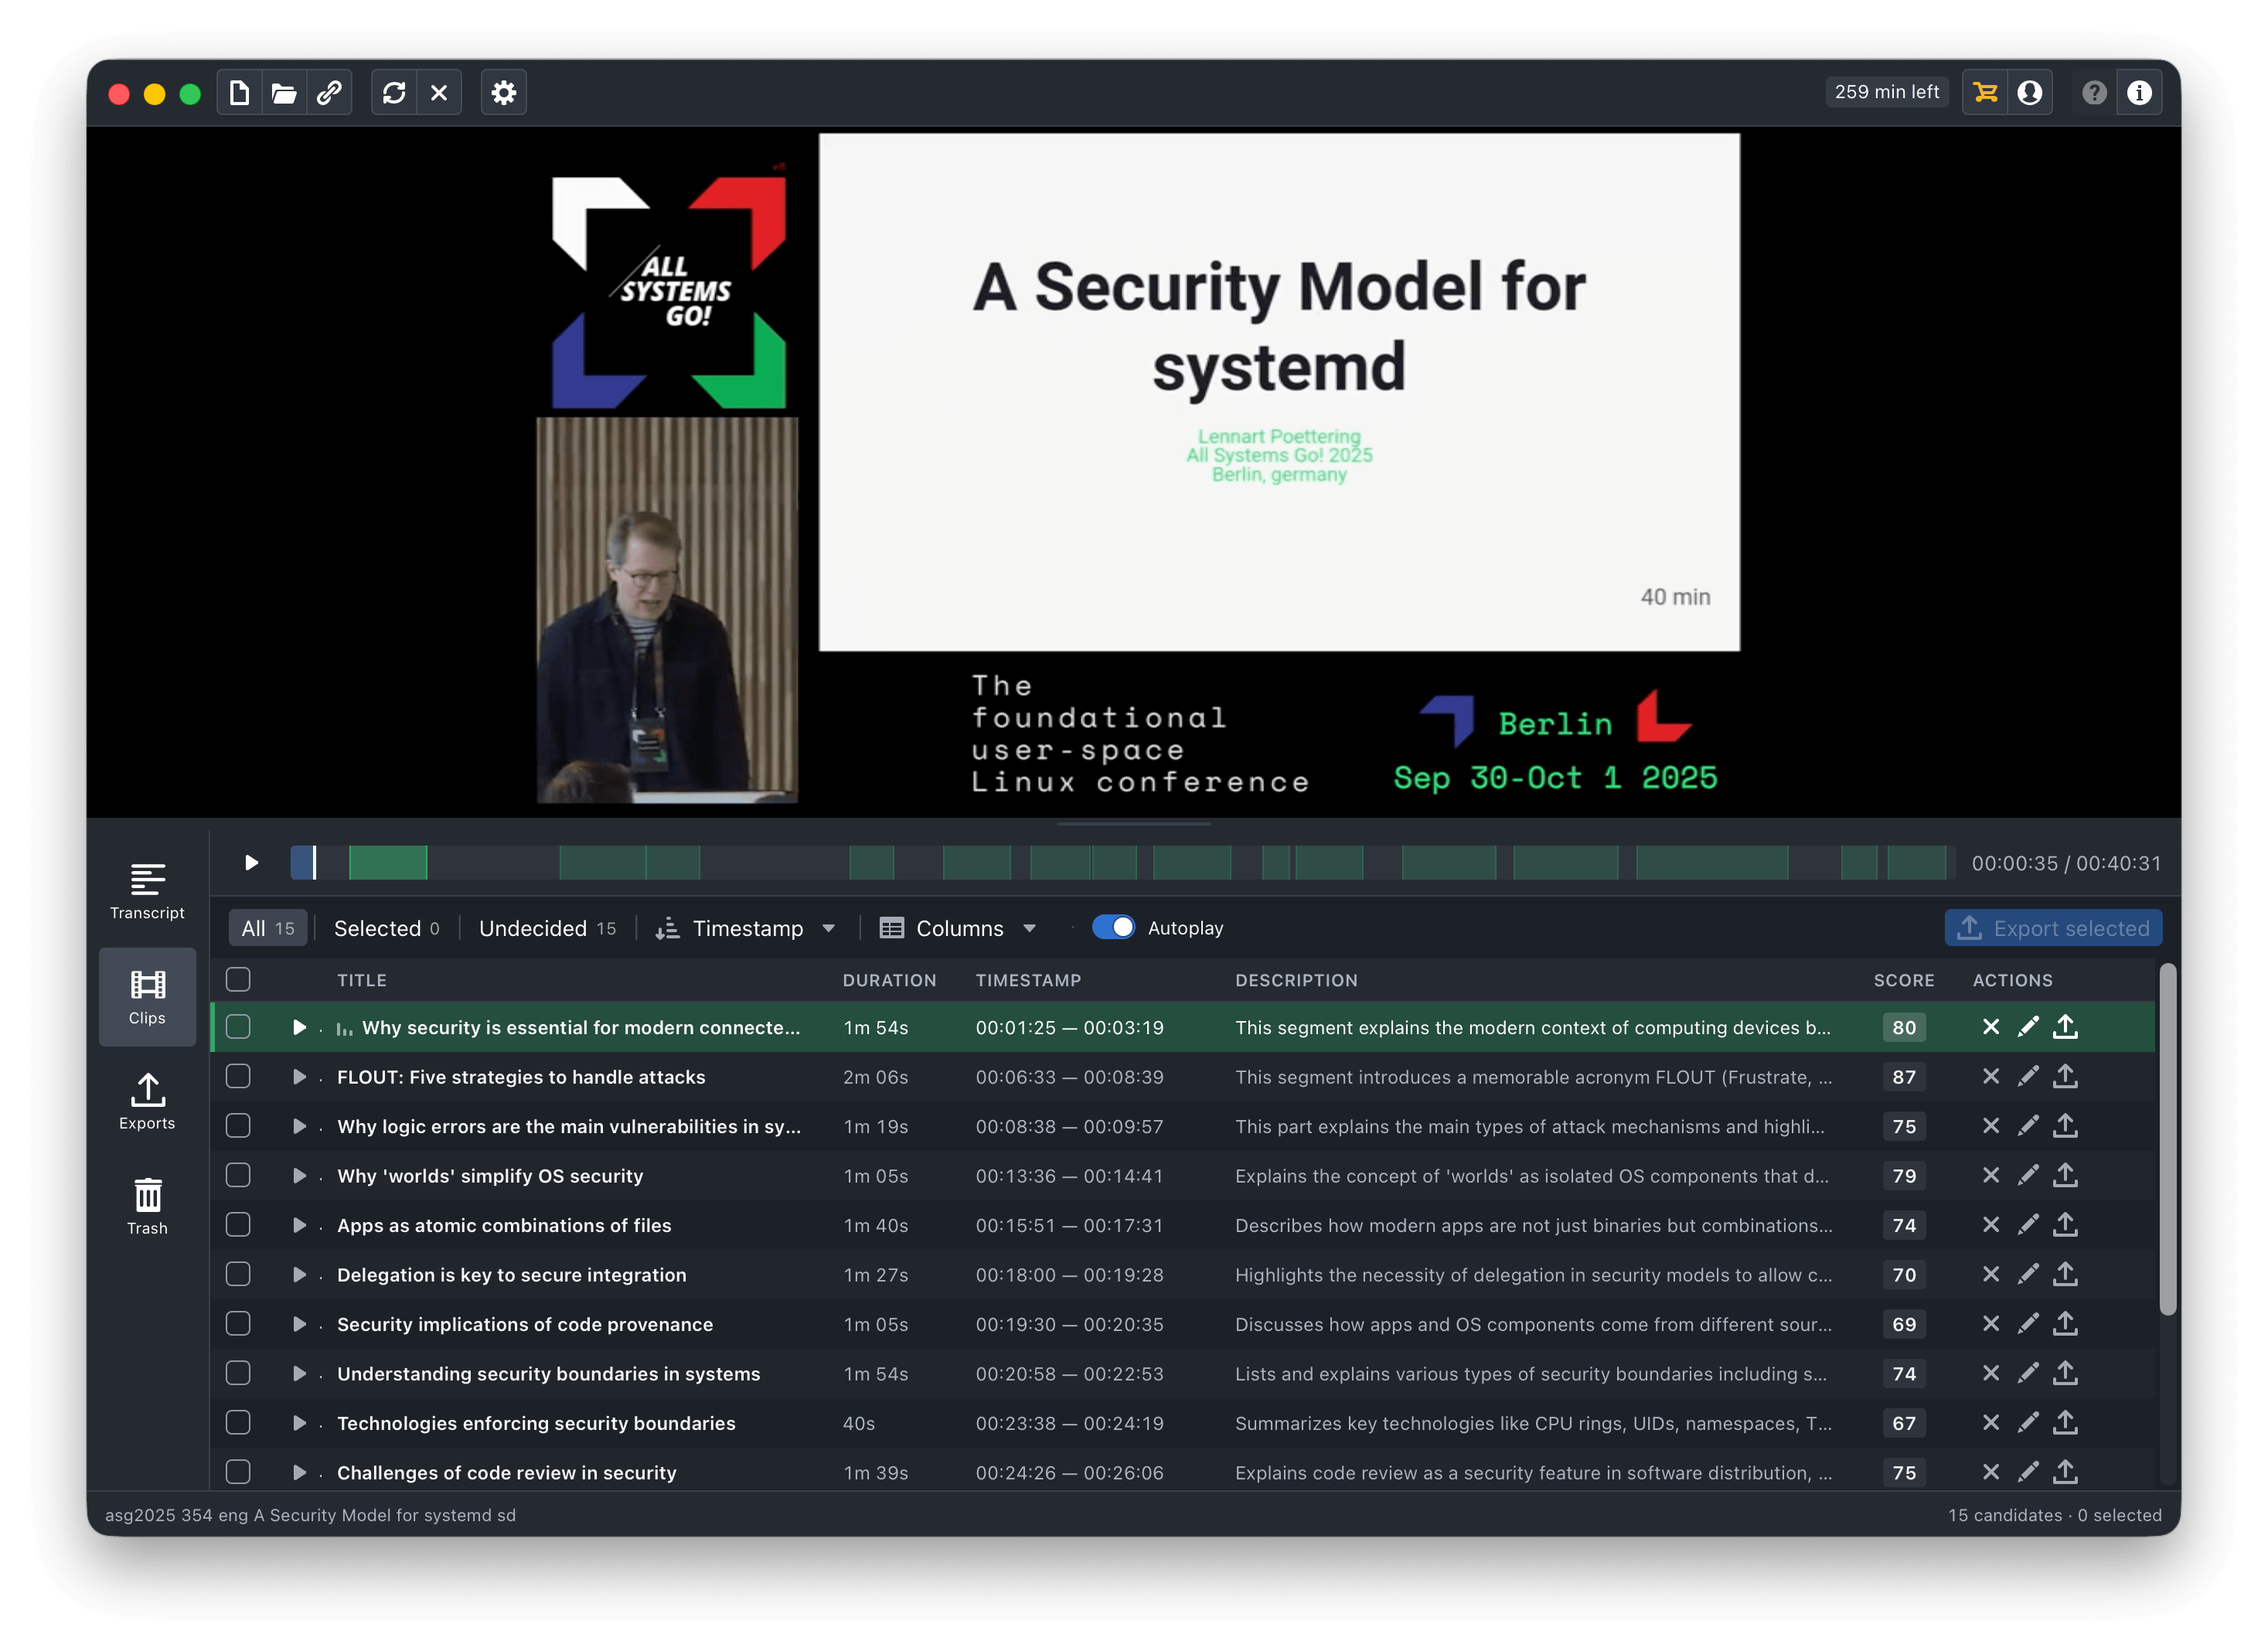
Play three or four. Pick the one you would actually send to somebody - that is the one to finish.
6. Tidy it up
Open the clip. Three things are worth a moment:
- The start and the end. Drag the handles, or nudge them, until it opens on the first word of the thought and ends on the last.
- The title. Rewrite it; it becomes the file name.
- The look. Pick a shape - vertical if it is going to a phone feed - and a subtitle style. The stage shows the result immediately.
7. Export
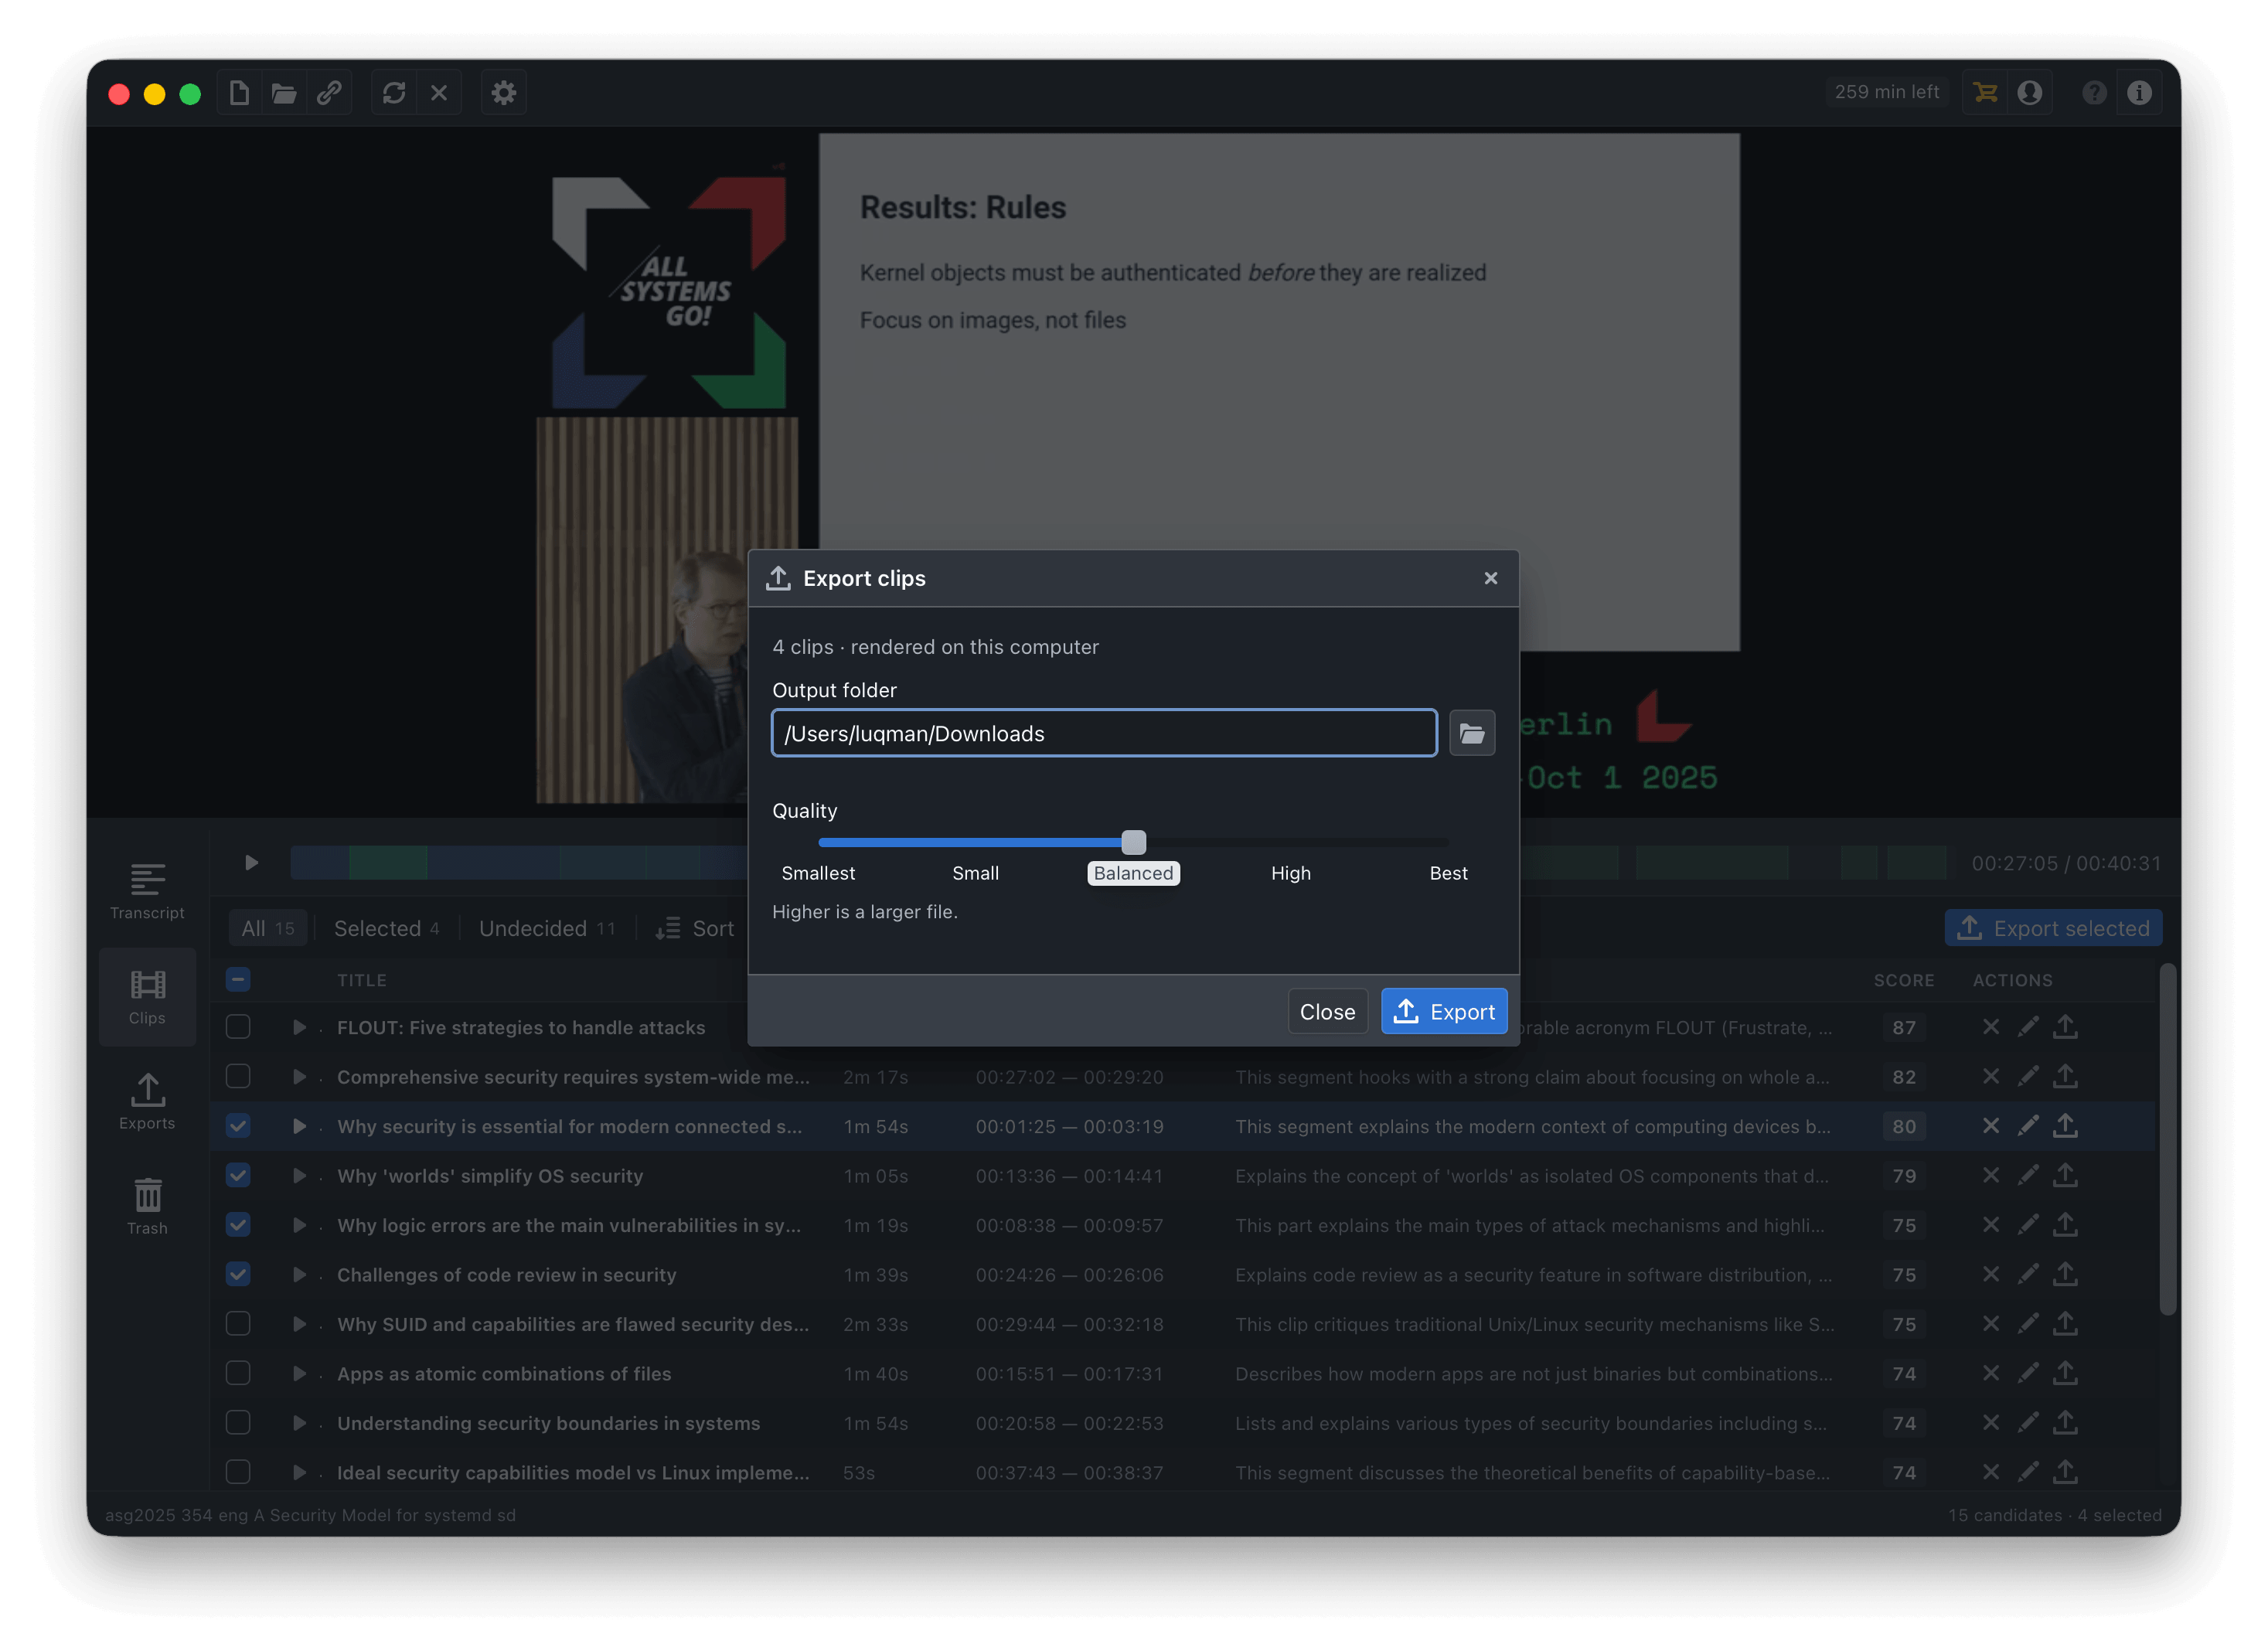
Press Export, leave the format on MP4 and the quality where it is, then let it render. The browser downloads one MP4 with subtitles already part of the picture, ready to upload.